This Getting Started guide covers:
- The hardware and software you need to access the groov View Data Store REST API
- Adding a Data Store to groov View
- Setting up API users
- Building your first API request
- Using the View API with groov EPIC
Prerequisites
- groov Box, groov EPIC, or groov Server for Windows with groov R3.3a or higher
- If you need to update your groov, visit https://www.opto22.com/my-opto
- If you don’t have groov, you can download the groov free trial
- web browser
- For help using groov, see the groov View User’s Guide, form 2027.
Adding a Data Store
A Data Store holds data from an online service, a database, or another software application, so you can include that data in your groov operator interface and your groov users can interact with it.
You add a Data Store for each application that will connect with groov, and then add the tags you want the application to read or write to.
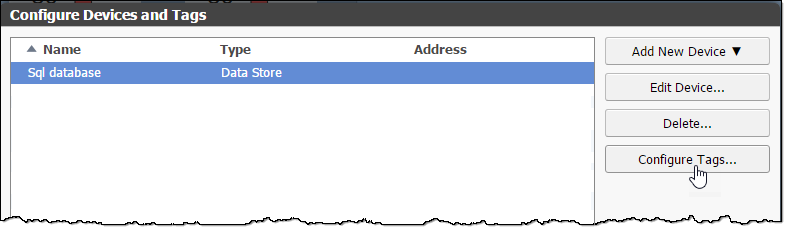
- In groov Build, select Configure > Devices and Tags.
-
Click Add New Device and then select Data Store. Give the Data Store a name and click Create.
-
Highlight the Data Store and click Configure Tags. Click the plus sign in the upper left.
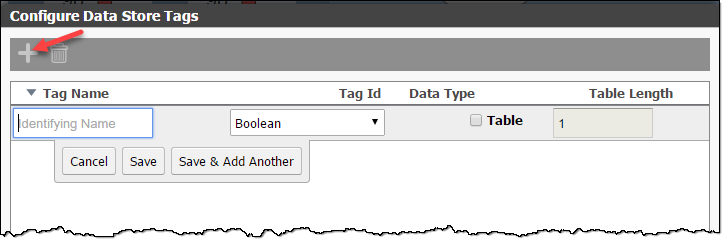
- Enter the tag name and choose its data type. Optional: If the tag is an array, check the Table box and enter the table length. Table length can be whatever you need (within the limits of your system’s capacity).
-
Click Save.
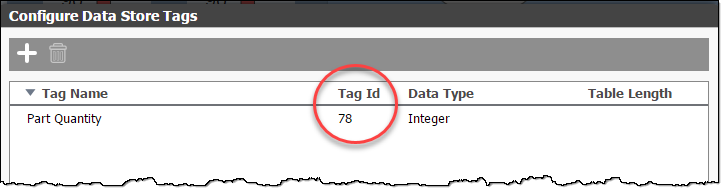
IMPORTANT: When your tag appears in the list, note its Tag Id. You need the Id to access the tag.
Setting up API users
Software clients that need to access data in groov must be added as users in groov Build, so their API keys can be generated.
See the groov EPIC page for instructions on authorizing through groov Manage for the EPIC.
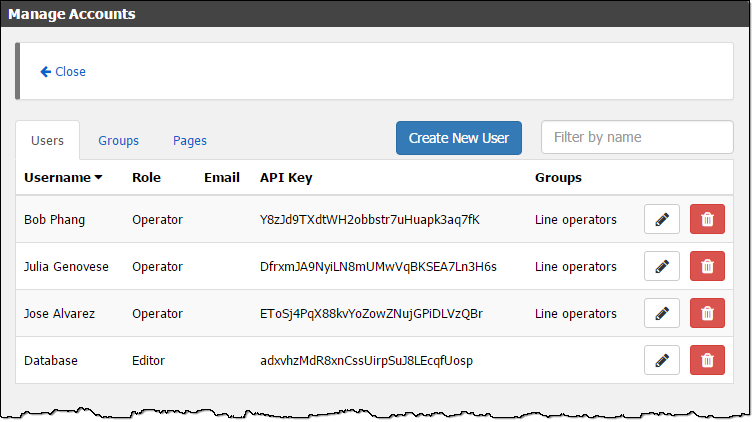
- In groov Build, choose Configure > Accounts. Then click the Users tab.
-
Click Create New User.
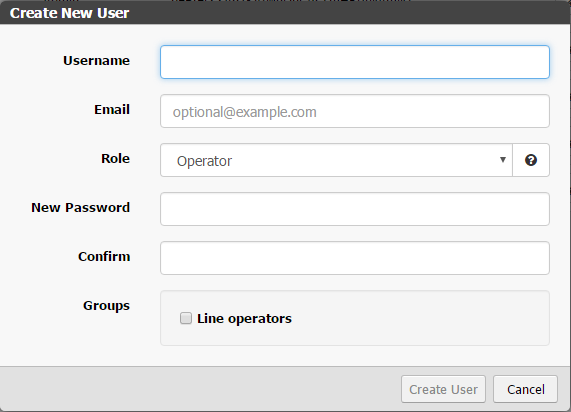
- For an API user, enter a username. Select a Role of Admin or Editor (Operator and Kiosk users cannot use the API, even though a key is shown for them). Enter a password and confirm it. The password is used only to set up the user initially.
- Click Create User.
The user appears in the list and its API key is automatically generated. You’ll need the API key to build your groov API request.
Next Step
Continue with Building your first groov API request
API: